
Finding confidence to capture yourself for content – with Emma Croman
We all know that good imagery can help us show up in our businesses. And while I’m all for outsourcing where we can, professional brand photography isn’t always within the budget. Sometimes we just have to do it ourselves — and that can feel a little overwhelming. So with that in mind, I thought I’d invite my lovely friend, brand photographer Emma Croman, to share some simple, practical tips on capturing better images and videos — from getting your lighting right to using a timer to capture natural movement. I know I’ll certainly be trying some of Emma’s tricks myself, and I’ve already ticked off her first tip!
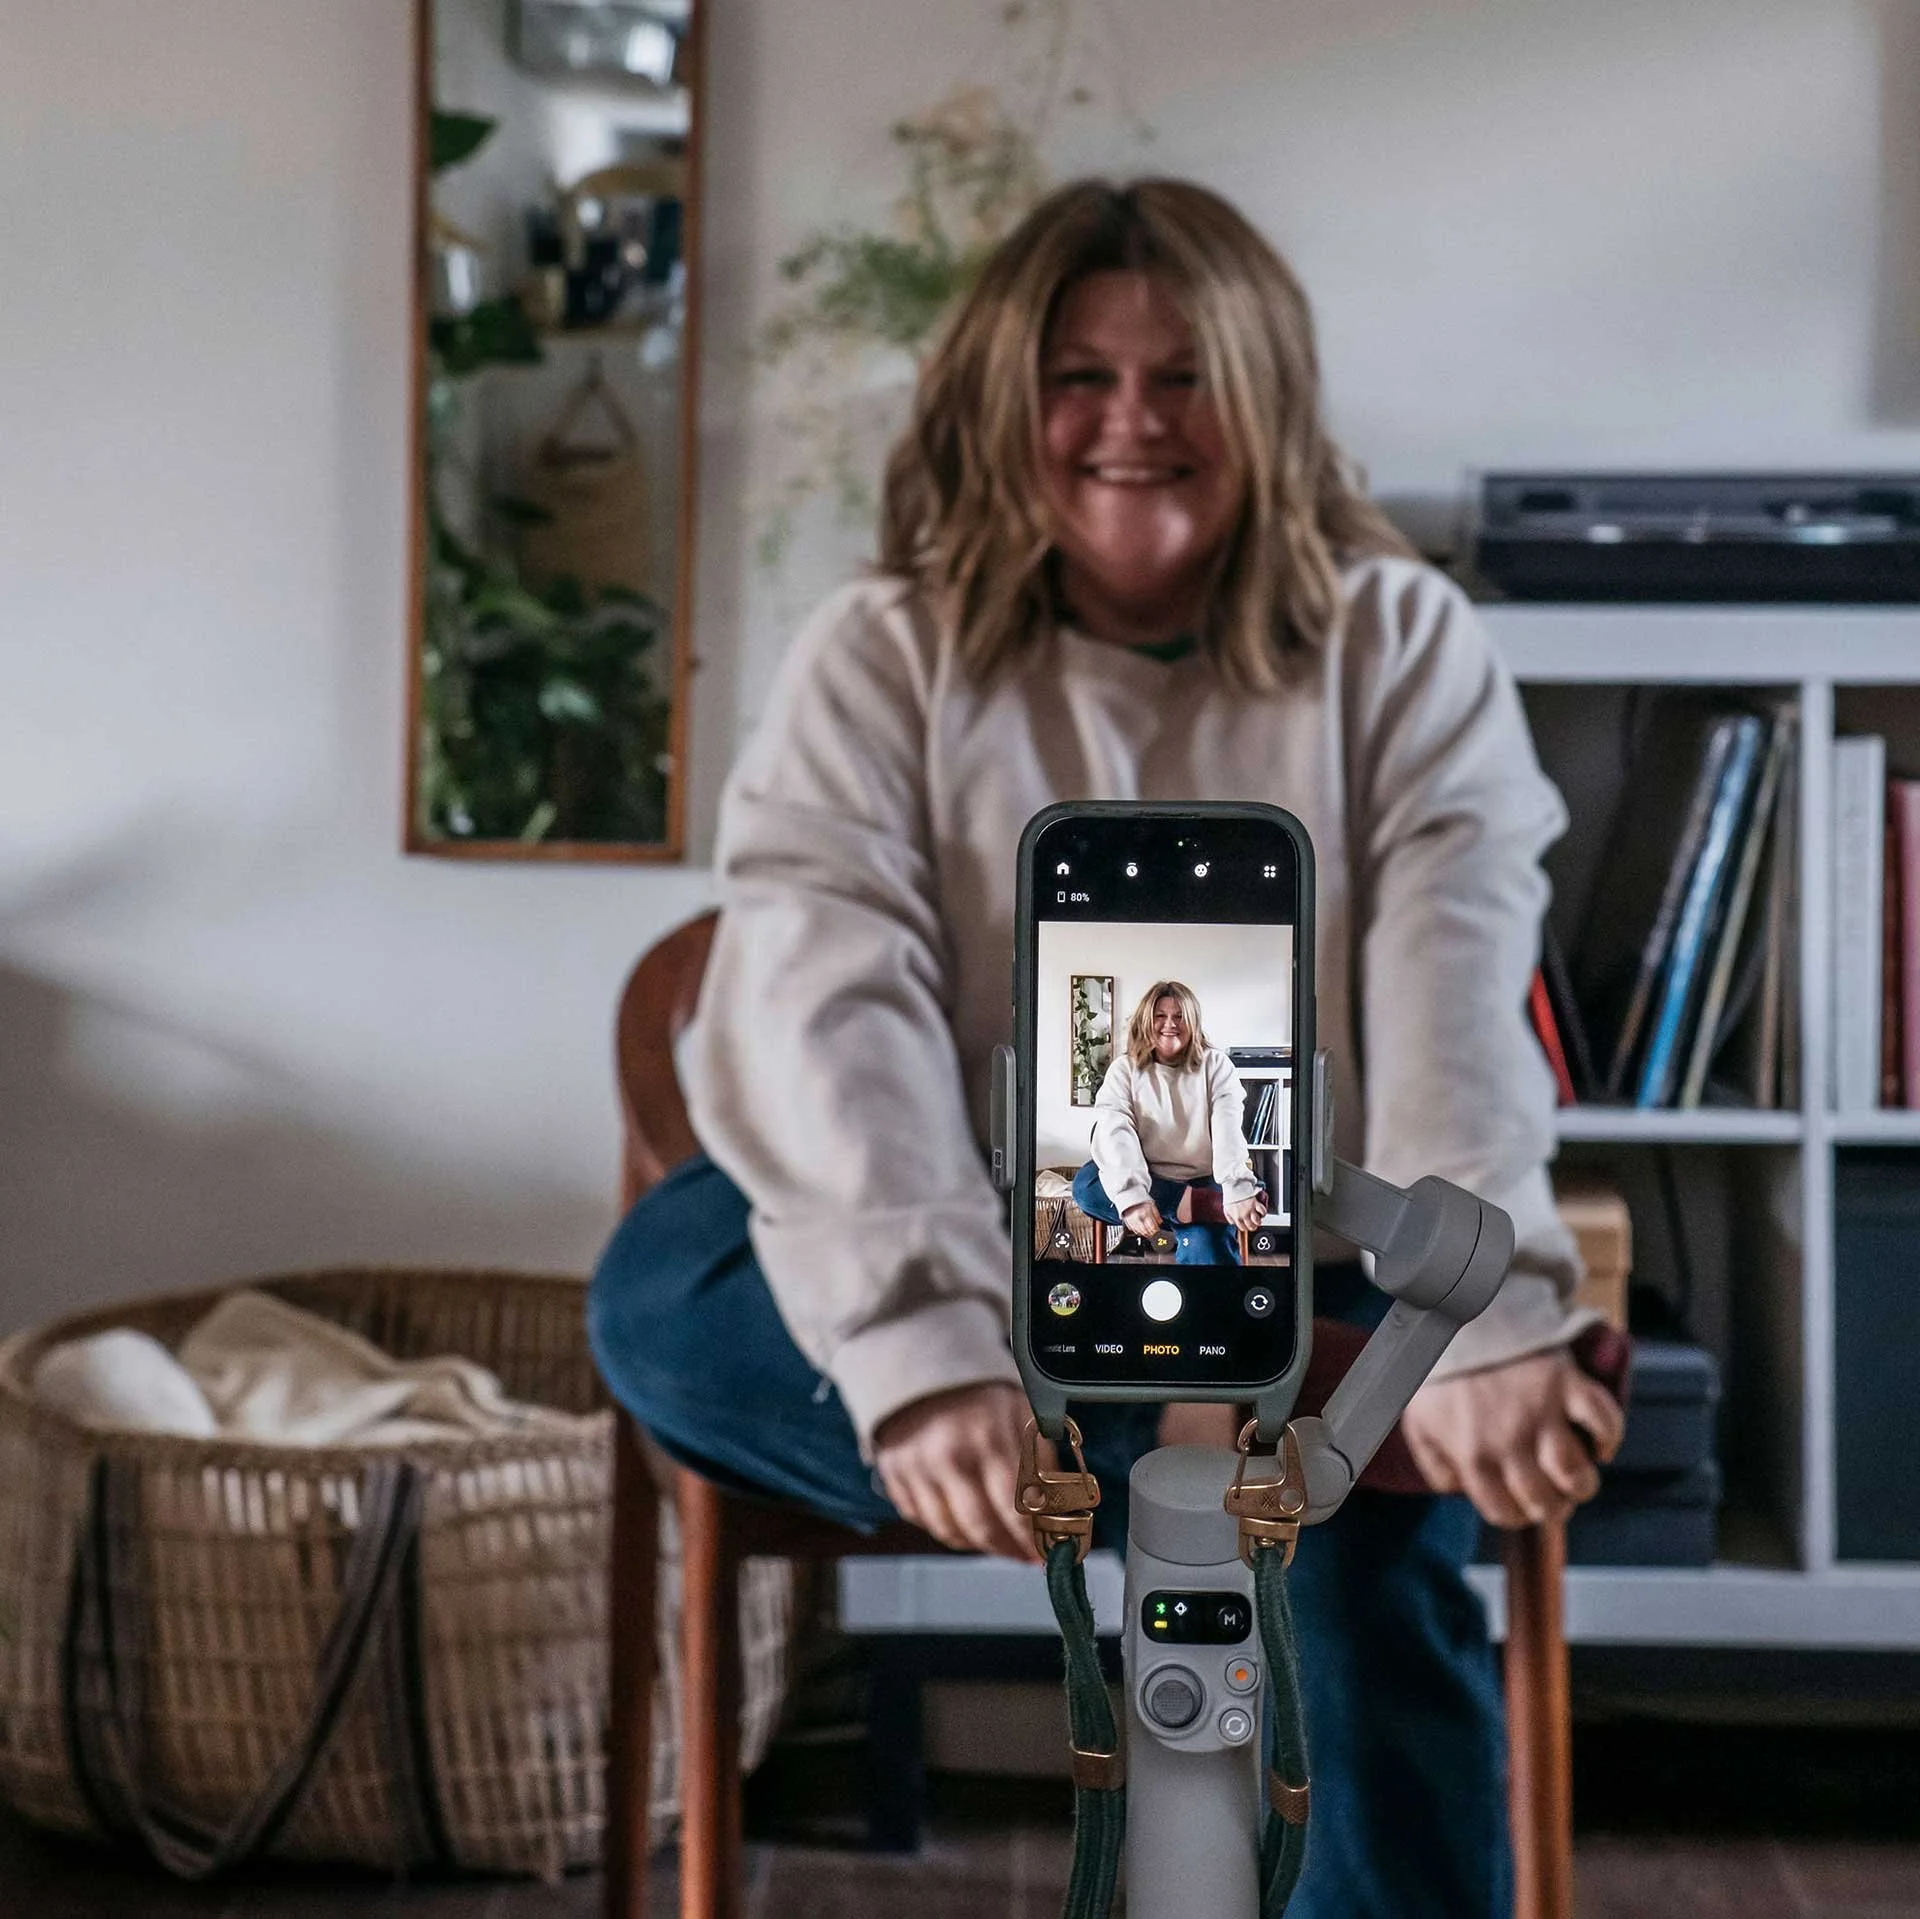
Content has changed in an AI era. Trust is down and fatigue is up, so it figures that the content that is landing at the moment is highly human and unpolished. But as creative business owners, we know that sounds a lot easier than it is — there’s a fine line between unpolished content and content that looks like an afterthought.
Gone are the days of highly aesthetic, curated feeds — the space for that now is on websites and throughout email marketing and printed materials. The way I like to think about it is that your content is what connects people to you and your website is where people make the decision to work with you, and how much they want to spend with you.
I’m a brand photographer and I’ve been in this world for over 15 years — I’ve seen content trends come and go and image and video styles change. But something I do know — lighting matters. With some tweaks to how we create images and videos we can really capture attention. But I also know you don’t always have a budget for a brand photographer or that you may need some content between shoots.
So here on the lovely Sarah and Maude blog I’m sharing some of my tips and tricks for you to make a few simple changes to the way you capture yourself to allow you to get more confident showing up and being visible. Whether you’re looking to capture some higher quality images or video of yourself for content or some still life images of your products your phone can capture better quality imagery than you may think.
The essential starting point
First of all you’re going to need something to stabilise your phone. We’ve all been there (me included!) - propping your phone vicariously on something and getting a jaunty angle because it’s not a flat surface or the perspective looks off because you’ve had to tilt the phone to get it to stand up. So I would say a phone tripod is an essential for any business. You can pick one up from Argos for around £30 and you won’t know what you did without it.
Two non negotiable rules
Unless you are very skilled with photography and have learned to balance ambient light I would suggest turning off any tungsten lights, but especially your overhead lights. I would go as far to say that this is an absolute must — orange overhead lights cast ugly tones over everything and also cast shadows so you look tired or your products look washed out. I’ll talk about what to do instead in a moment.
The second rule is make sure your lens is clean — phone lenses get dirty so easily and I am constantly wiping mine. It will make such a difference to your photos and video. And yes - that front lens too.
Take some time to test the light — wander round with your phone like you are taking a selfie and see what light you prefer.
Get your lighting right
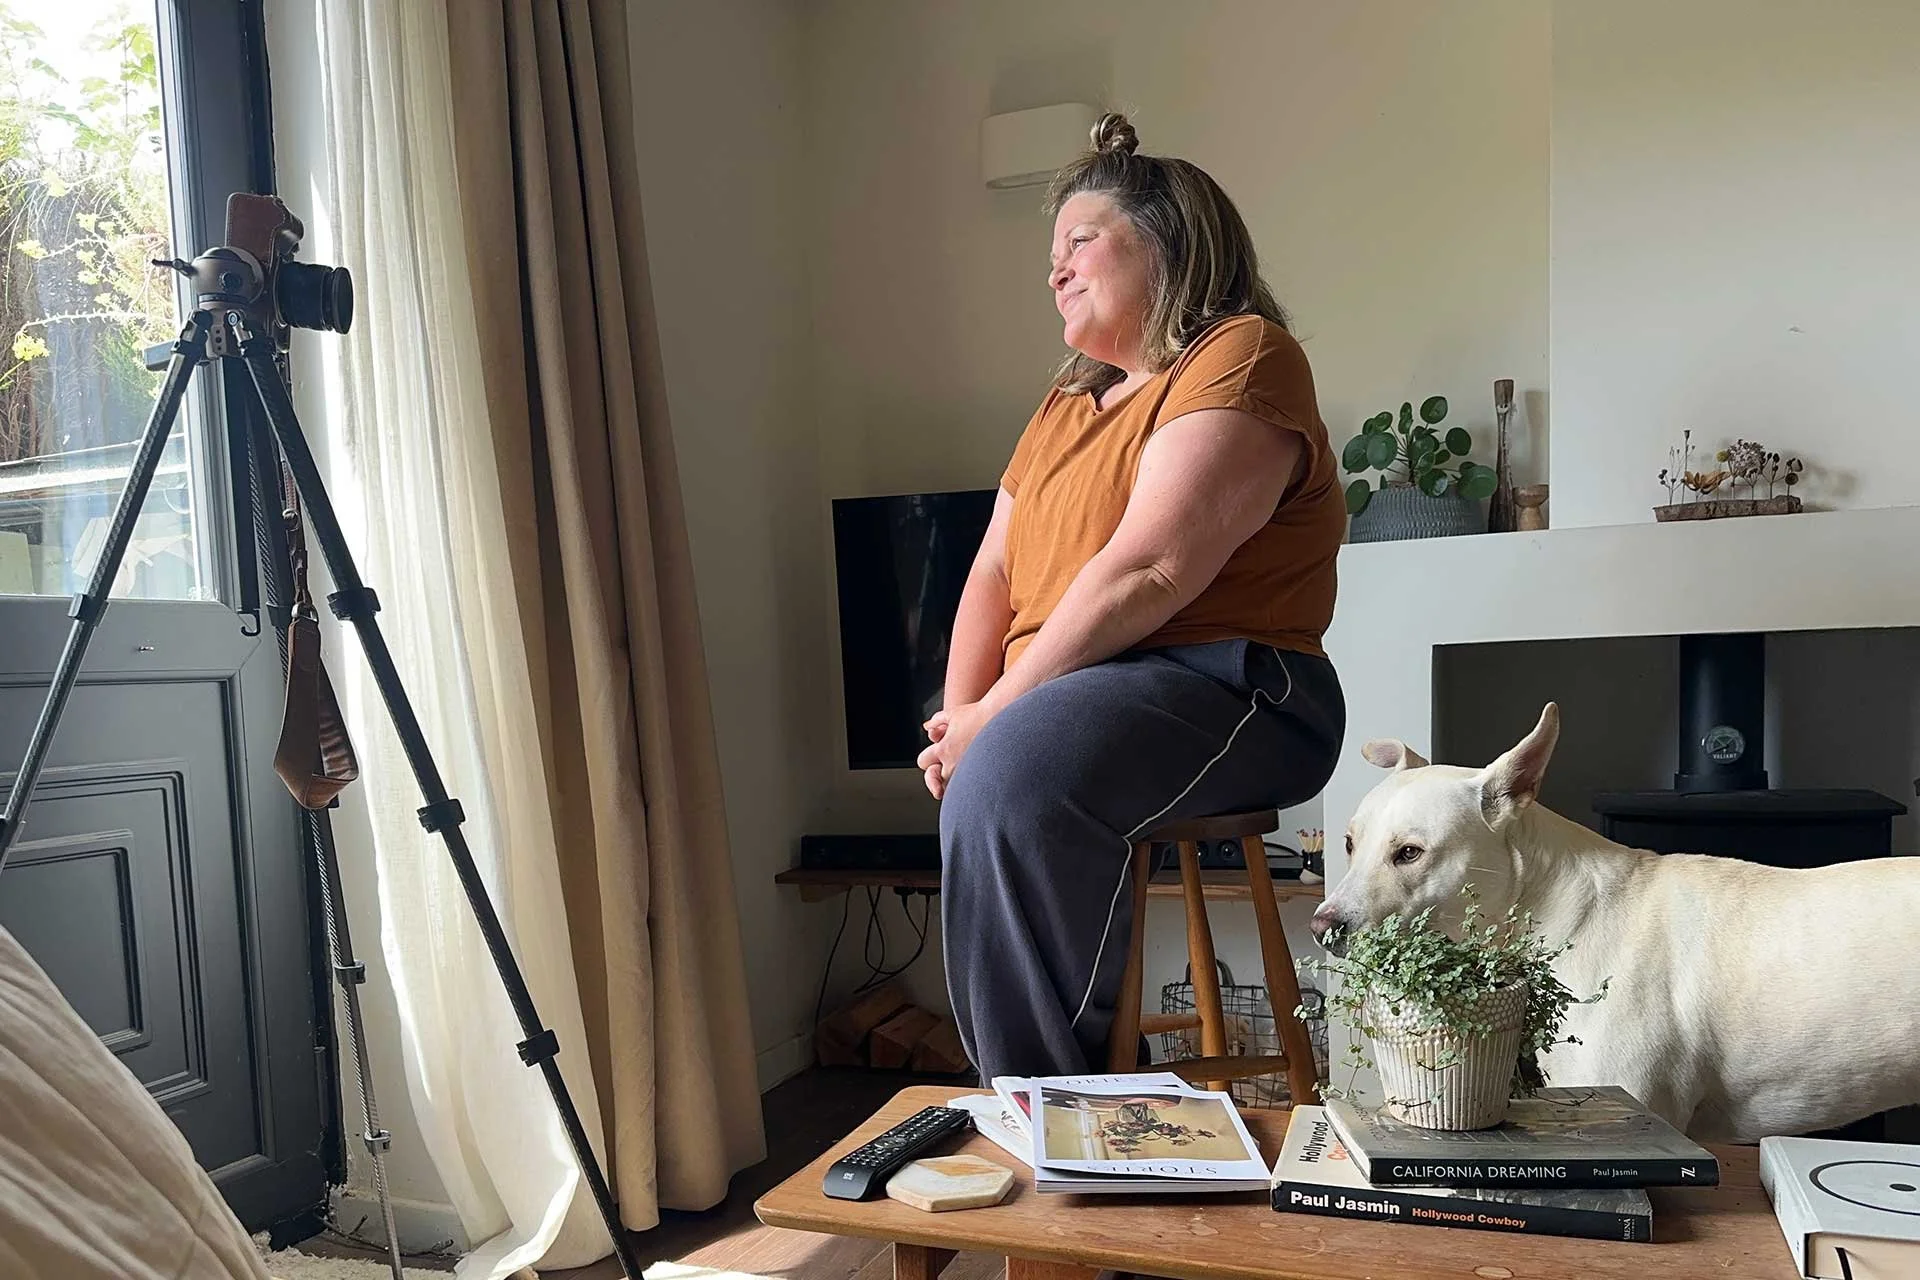
You should always be led by lighting — if you are in a dark area your images and video will look flat. Find a window and then choose a location that has some of that window light falling on it. The best light is when you are facing the window front on because the light will fall over your face evenly. Take some time to test the light — wander round with your phone like you are taking a selfie and see what light you prefer.
If you have your heart set on an area that has little to no light don’t be tempted to turn lamps or overhead lights on — instead use a simple light like a ring light or a Chillbeam directly in front of you. It won’t be as punchy or soft as natural window light but it will be a lot better than tungsten lights.
If you are photographing products, it’s nice to have some shadows to define them so you could have a window to the side but if the light is strong either move a little further into the room or bounce some light back into the shaded side with a piece of white card.
Composition
Always try and shoot straight on unless you have a lot of practice with angles. Shooting a product from the side with a slightly above angle can make a shot look uninviting. Use your tripod to set the phone at the same height as your eyes or straight onto your product for the best composition.
Play with the rules of thirds - your phone should have a grid on it so aim to either fill the space between the lines or place your subject on one of the lines. Try and avoid having too much floor or ceiling in shot but do take into account how much text space you need. Shooting straight on should eliminate weighty floor or ceiling space but it’s good to ask yourself if it’s dominating. That said, it’s always best to leave enough room and crop afterwards than get too tight and not have enough text space.
Try and use the back camera
While the front camera is getting better on phones I recommend trying to use the back camera where possible. You can get magnetic mirrors that attach to the back of your phone which makes composing easier but they’re not so good when you are using a tripod with a clasp mount. I also suggest using portrait mode for photo and cinematic for video.
Use the timer or interval shooting
When taking photos of yourself utilise the timer app on your phone or even better use an app like Lens Buddy — there is a free version, it just takes a bit of digging around to shoot on the free one but to export multiple photos you will need to take the free trial or subscribe. It’s worth it for the money because you can set it to take a photo every 2 seconds for a certain number of shots which means you can just jump in front of the camera and move, keeping everything looking super natural and allowing you to practice getting comfortable in front of the camera.
Mindset
Remember - the only difference between the people showing up in their content and you is that they just did it. Very few people are natural in front of the camera but they pushed through the uncomfortableness and got to a place where they can just do it without much thought. You can get there too — you just have to get used to it!
If you’d like to build on Emma’s tips and feel more confident creating content with your phone, she has a free guide that delves into all of this a bit more — grab your free guide here.
She’s also running a phone photography workshop with Neptune at their beautiful Market Harborough store, where you can learn how to capture gorgeous product and lifestyle images of your work using different textures and backdrops — join the waitlist here.
And, of course, if you’re ready to invest in a professional brand shoot so you have the confidence to charge more and secure those dream features, you can find out more about Emma’s photography here.
Emma Croman is a Derbyshire-based brand and lifestyle photographer with over three decades of editorial and commercial experience. A former picture editor, Emma is passionate about telling stories through photography and helping creatives, makers, and small businesses communicate what they do in a natural and authentic way.
When she’s not behind the camera, you’ll usually find her exploring the Derbyshire Dales with her rescue dog, Ollie, working in her garden, or planning her next adventure in her self-converted camper van.
You can find out more about Emma’s brand photography, workshops and resources at emmacroman.com. You can also follow her on Instagram, where she shares photography tips, creative business advice and glimpses behind the scenes.